My day job is in digital media, so when people ask me to test out a new site or app in the food space, I am both delighted (I love what I do) and concerned (I’m very particular about the quality of the platforms I use online). I have very little patience for apps/websites that do not work, make my life harder, or try to solve for a problem that doesn’t exist. But Munch Ado had an interesting proposition and I was happy to try it out (and they kindly gave me $100 towards using their service, which enabled me to treat some of my coworkers to a lunch delivery).
The pitch was that it’s a NY-based start-up that is working on “redefining food discovery and connecting restaurants with people (and vice versa).” Right now, I personally use a big combination of Seamless, Yelp, OpenTable, Eater, Chow, FourSquare, UrbanSpoon, and a few others for all my food needs. The idea of having this all in one place is appealing, though I was skeptical if there really could be a one-stop shop that combined all the best of each so I could find a restaurant, reserve a table, order food, and get deals all while taking reviews into consideration so I could find the best ones.
So does Munch Ado deliver?
First… a tour:
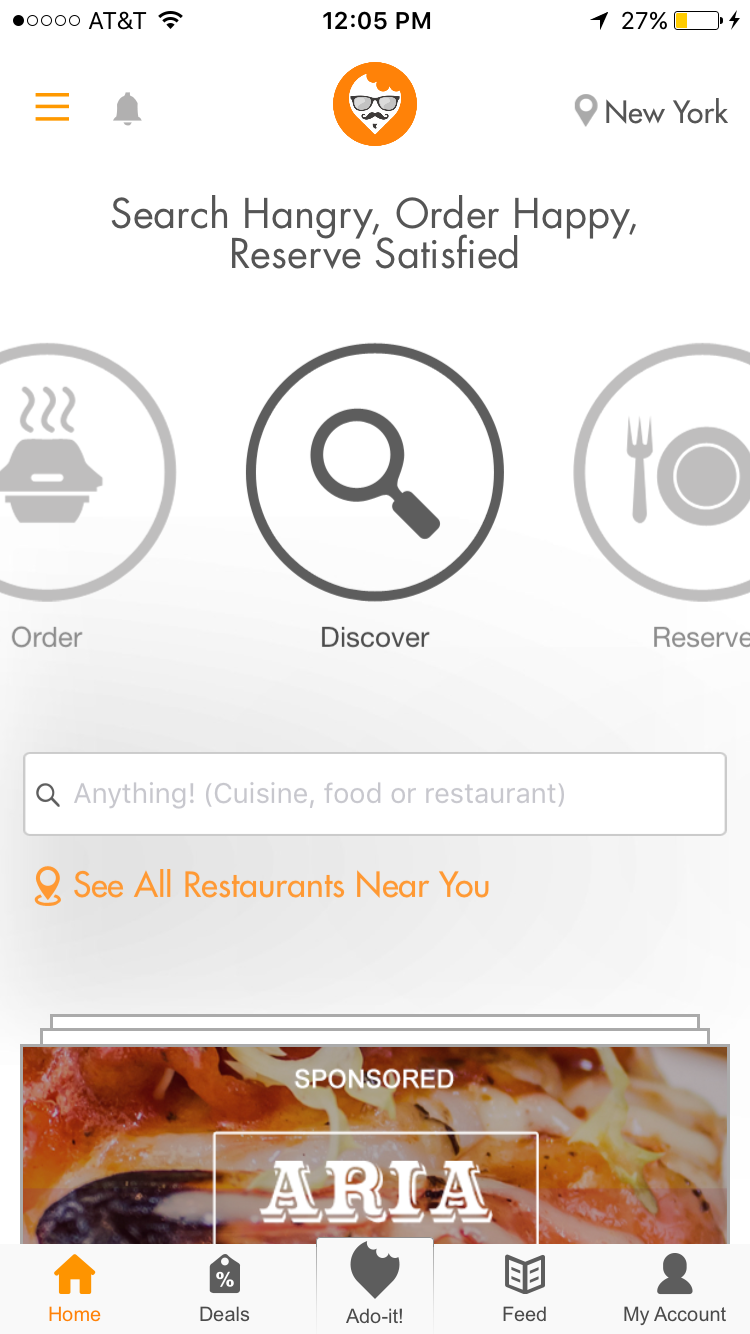
(Home screen)

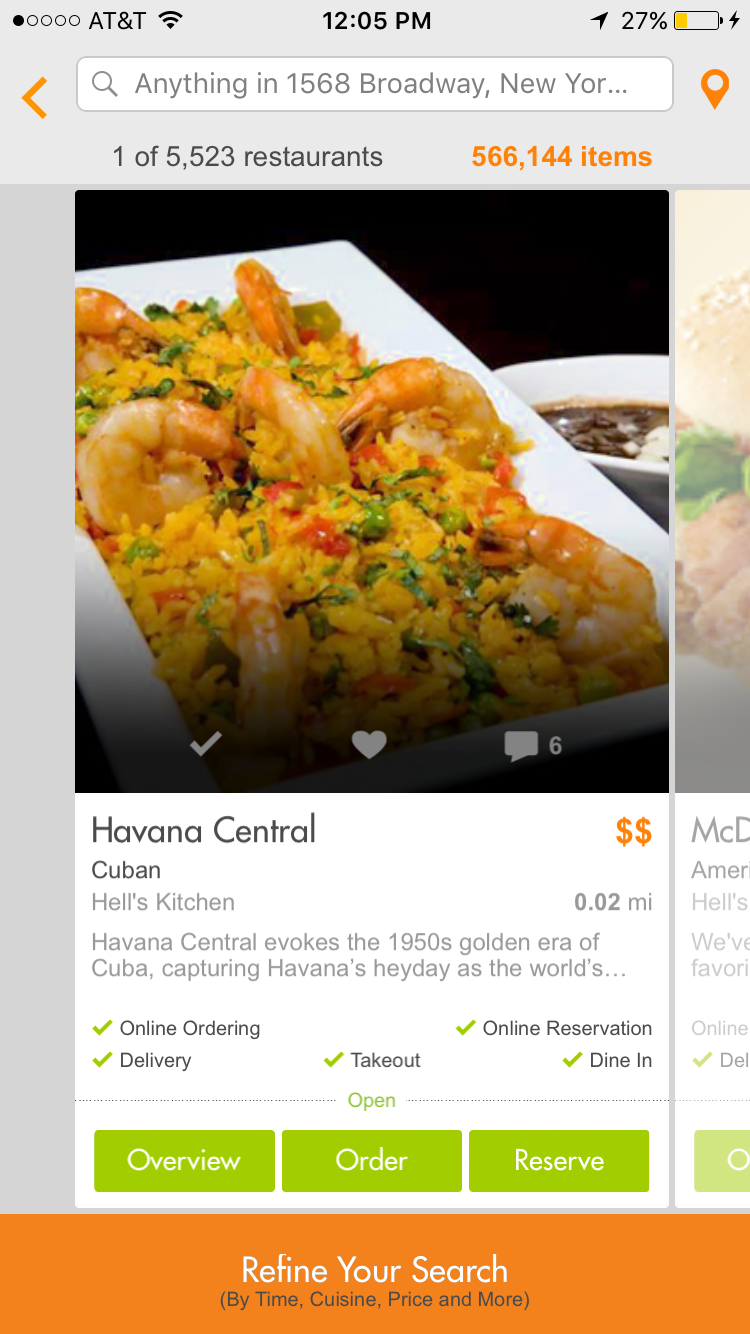
(Browse for restaurants by location)

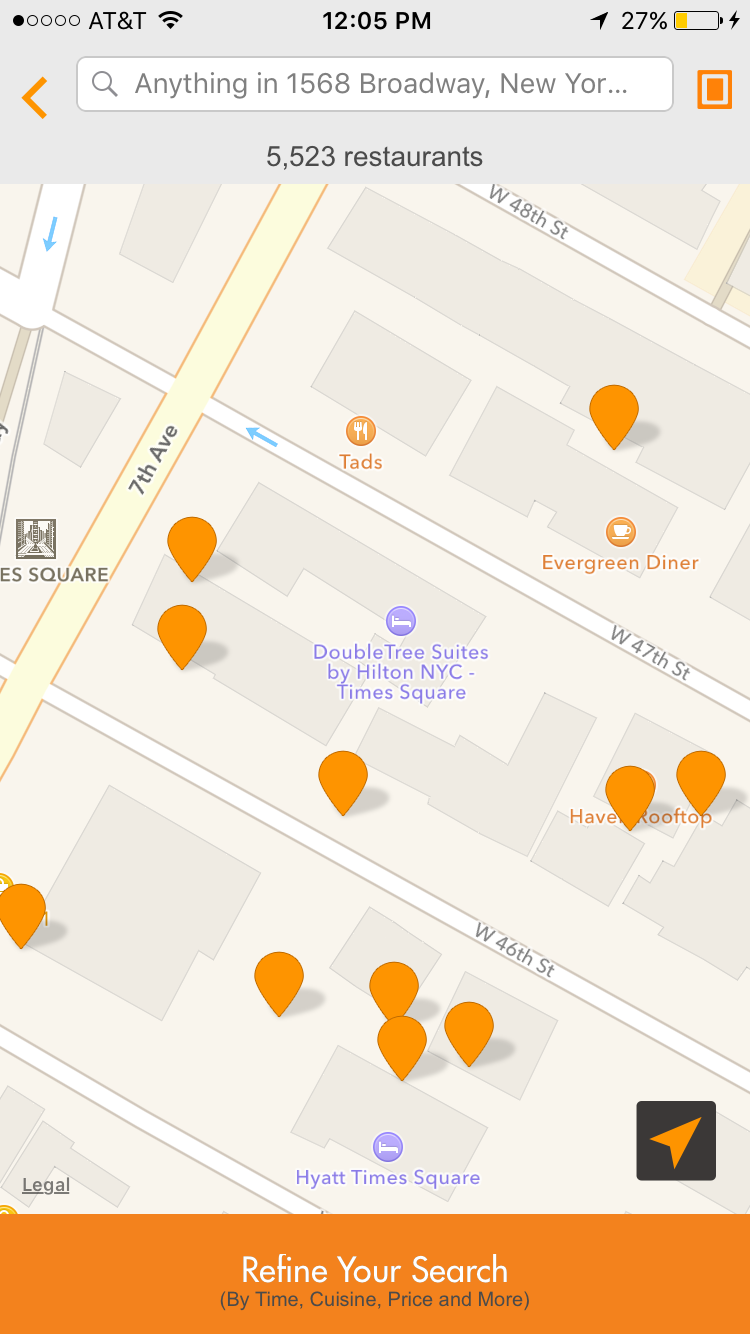
(See local restaurants on one map)

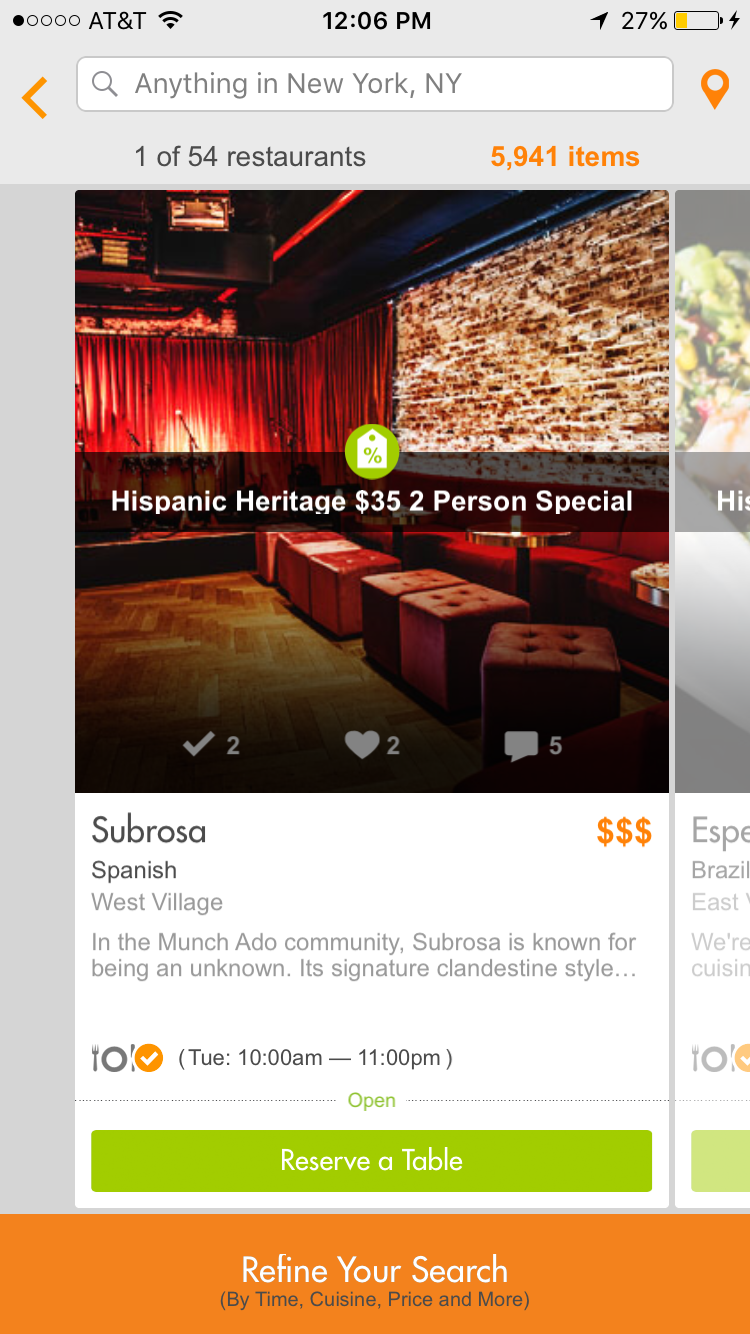
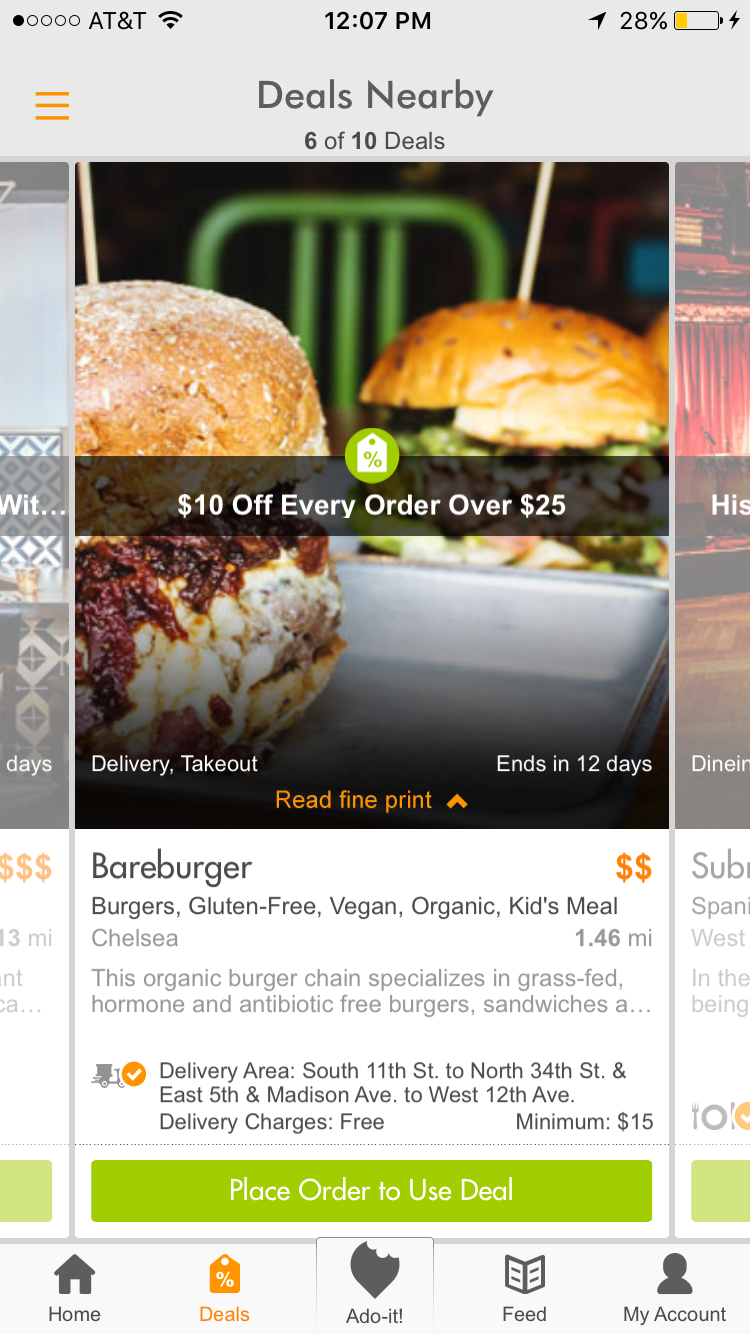
(Look for deals… there were a number available for Hispanic Heritage earlier this week)
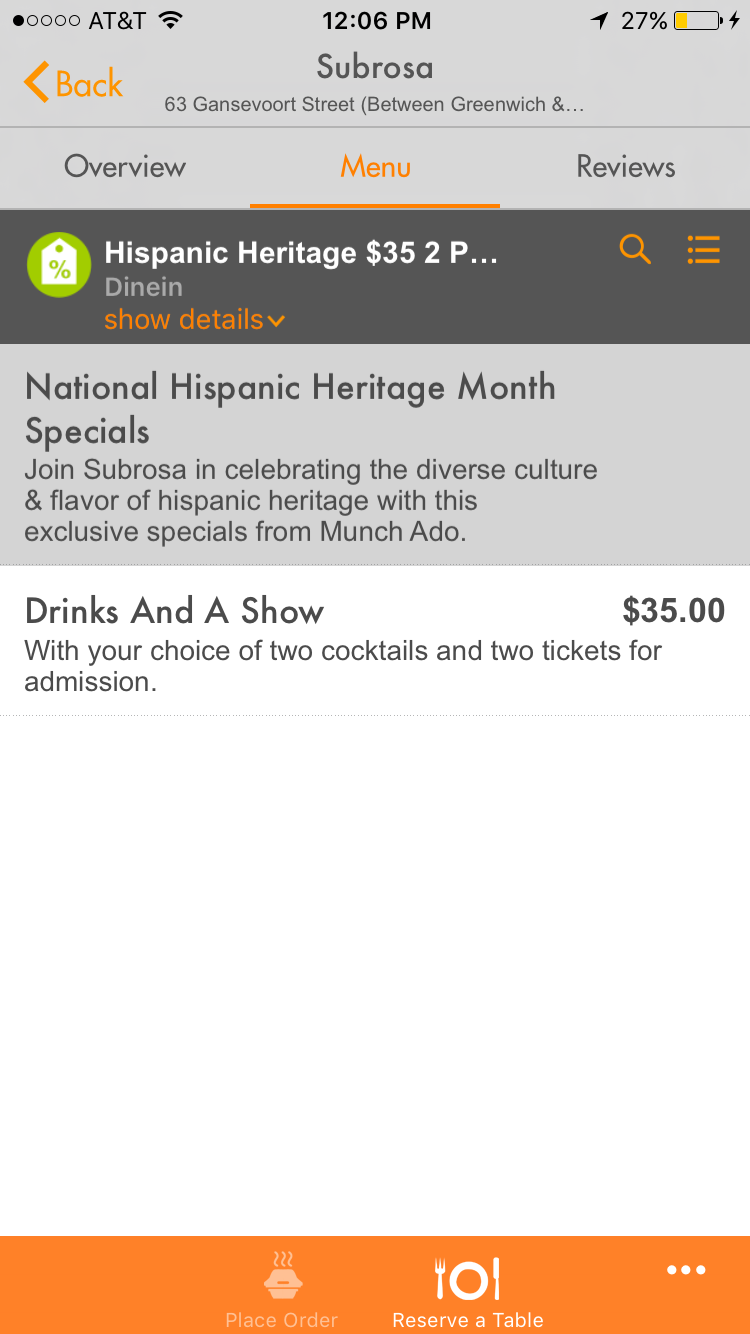
(Details of the deal)

(Some more deal stuff… this on delivery)

I liked a few of the features, namely that whether I was looking to dine in or dine out, it was all in one place. The idea that was most appealing to me is that I could not know where to go for dinner, pull up the app and look for fun deals in the area, and choose that way. So the “deals” aspect I think was the most interesting.
I was severely missing the reviews to help me decide, however. There are a few reviews but I don’t see any kind of ranking or way of sorting by reviews just yet (it automatically searches by distance, with A to Z, Best Match, and Price being the other options). Also, I didn’t get any easy prompt to add my review, so I think building that will be difficult at first unless they pull in reviews from other places.
My biggest hang-up: I am still not sure what allows a restaurant to qualify for their list, and it’s not like it was just listing the best restaurants, which makes me wonder how exactly I choose. So picking a place to go is not as easy as I would have liked, leaving me flipping through the entire list of places that delivered to me at that time.
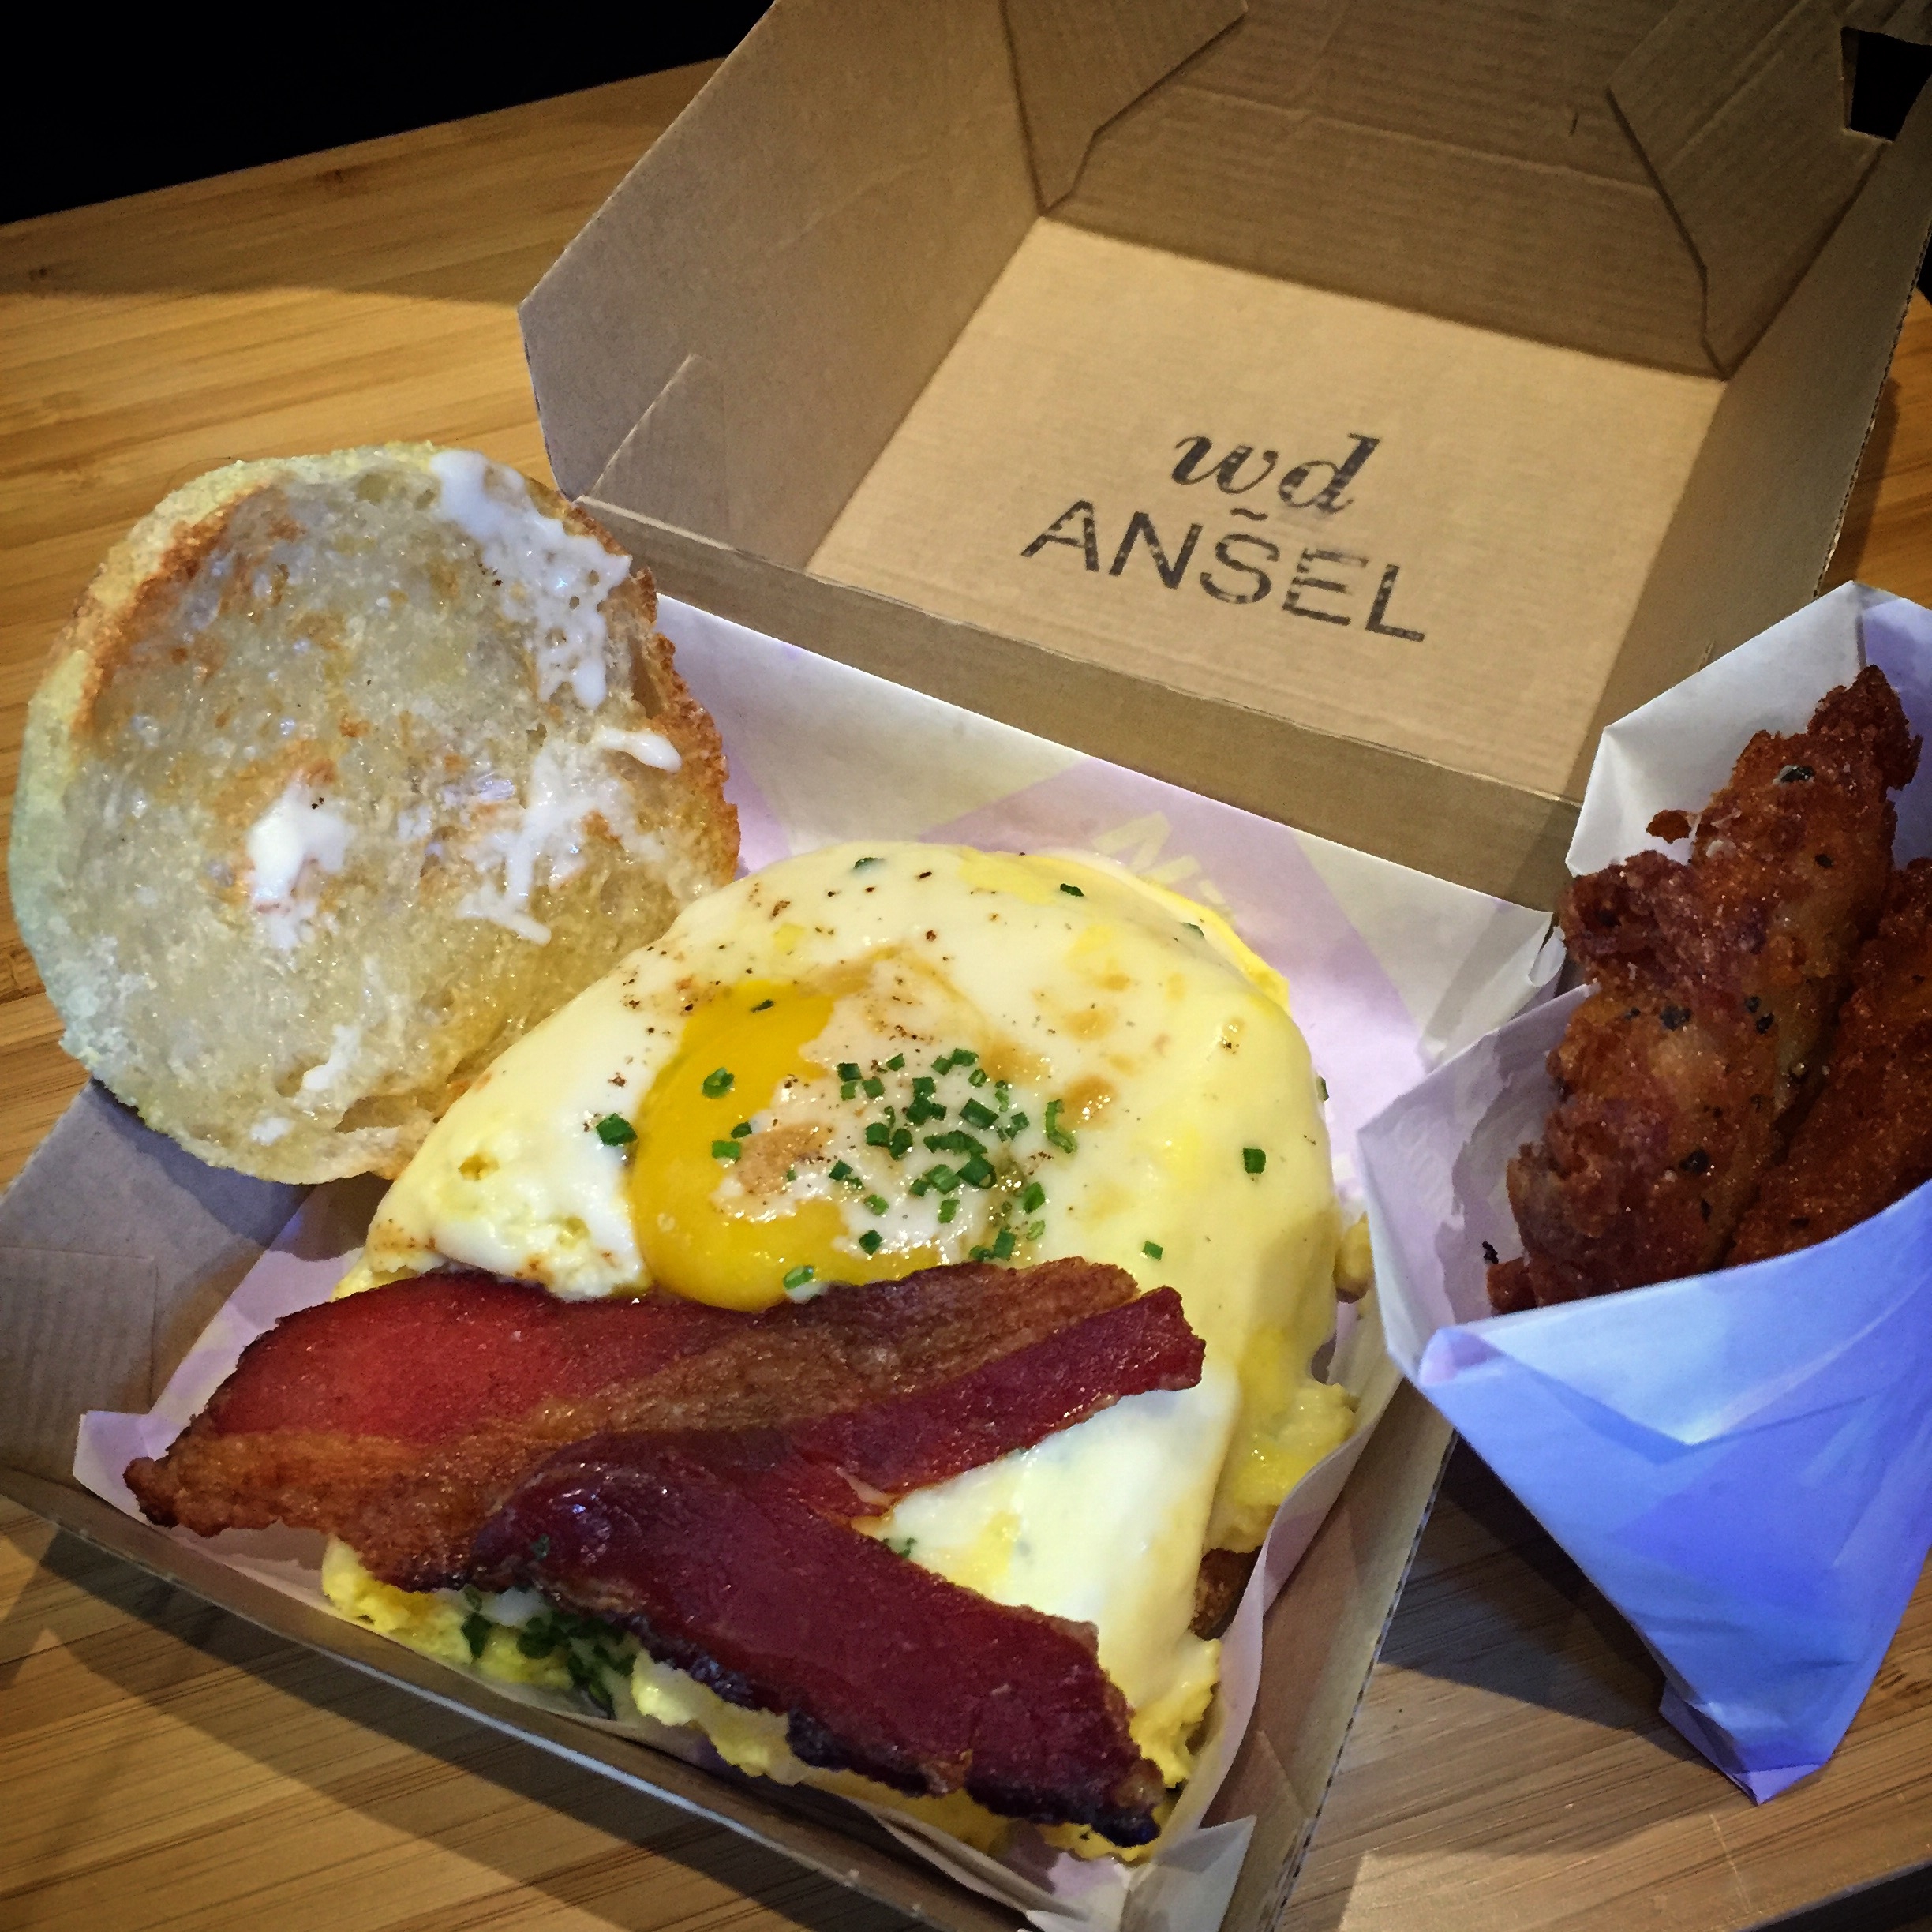
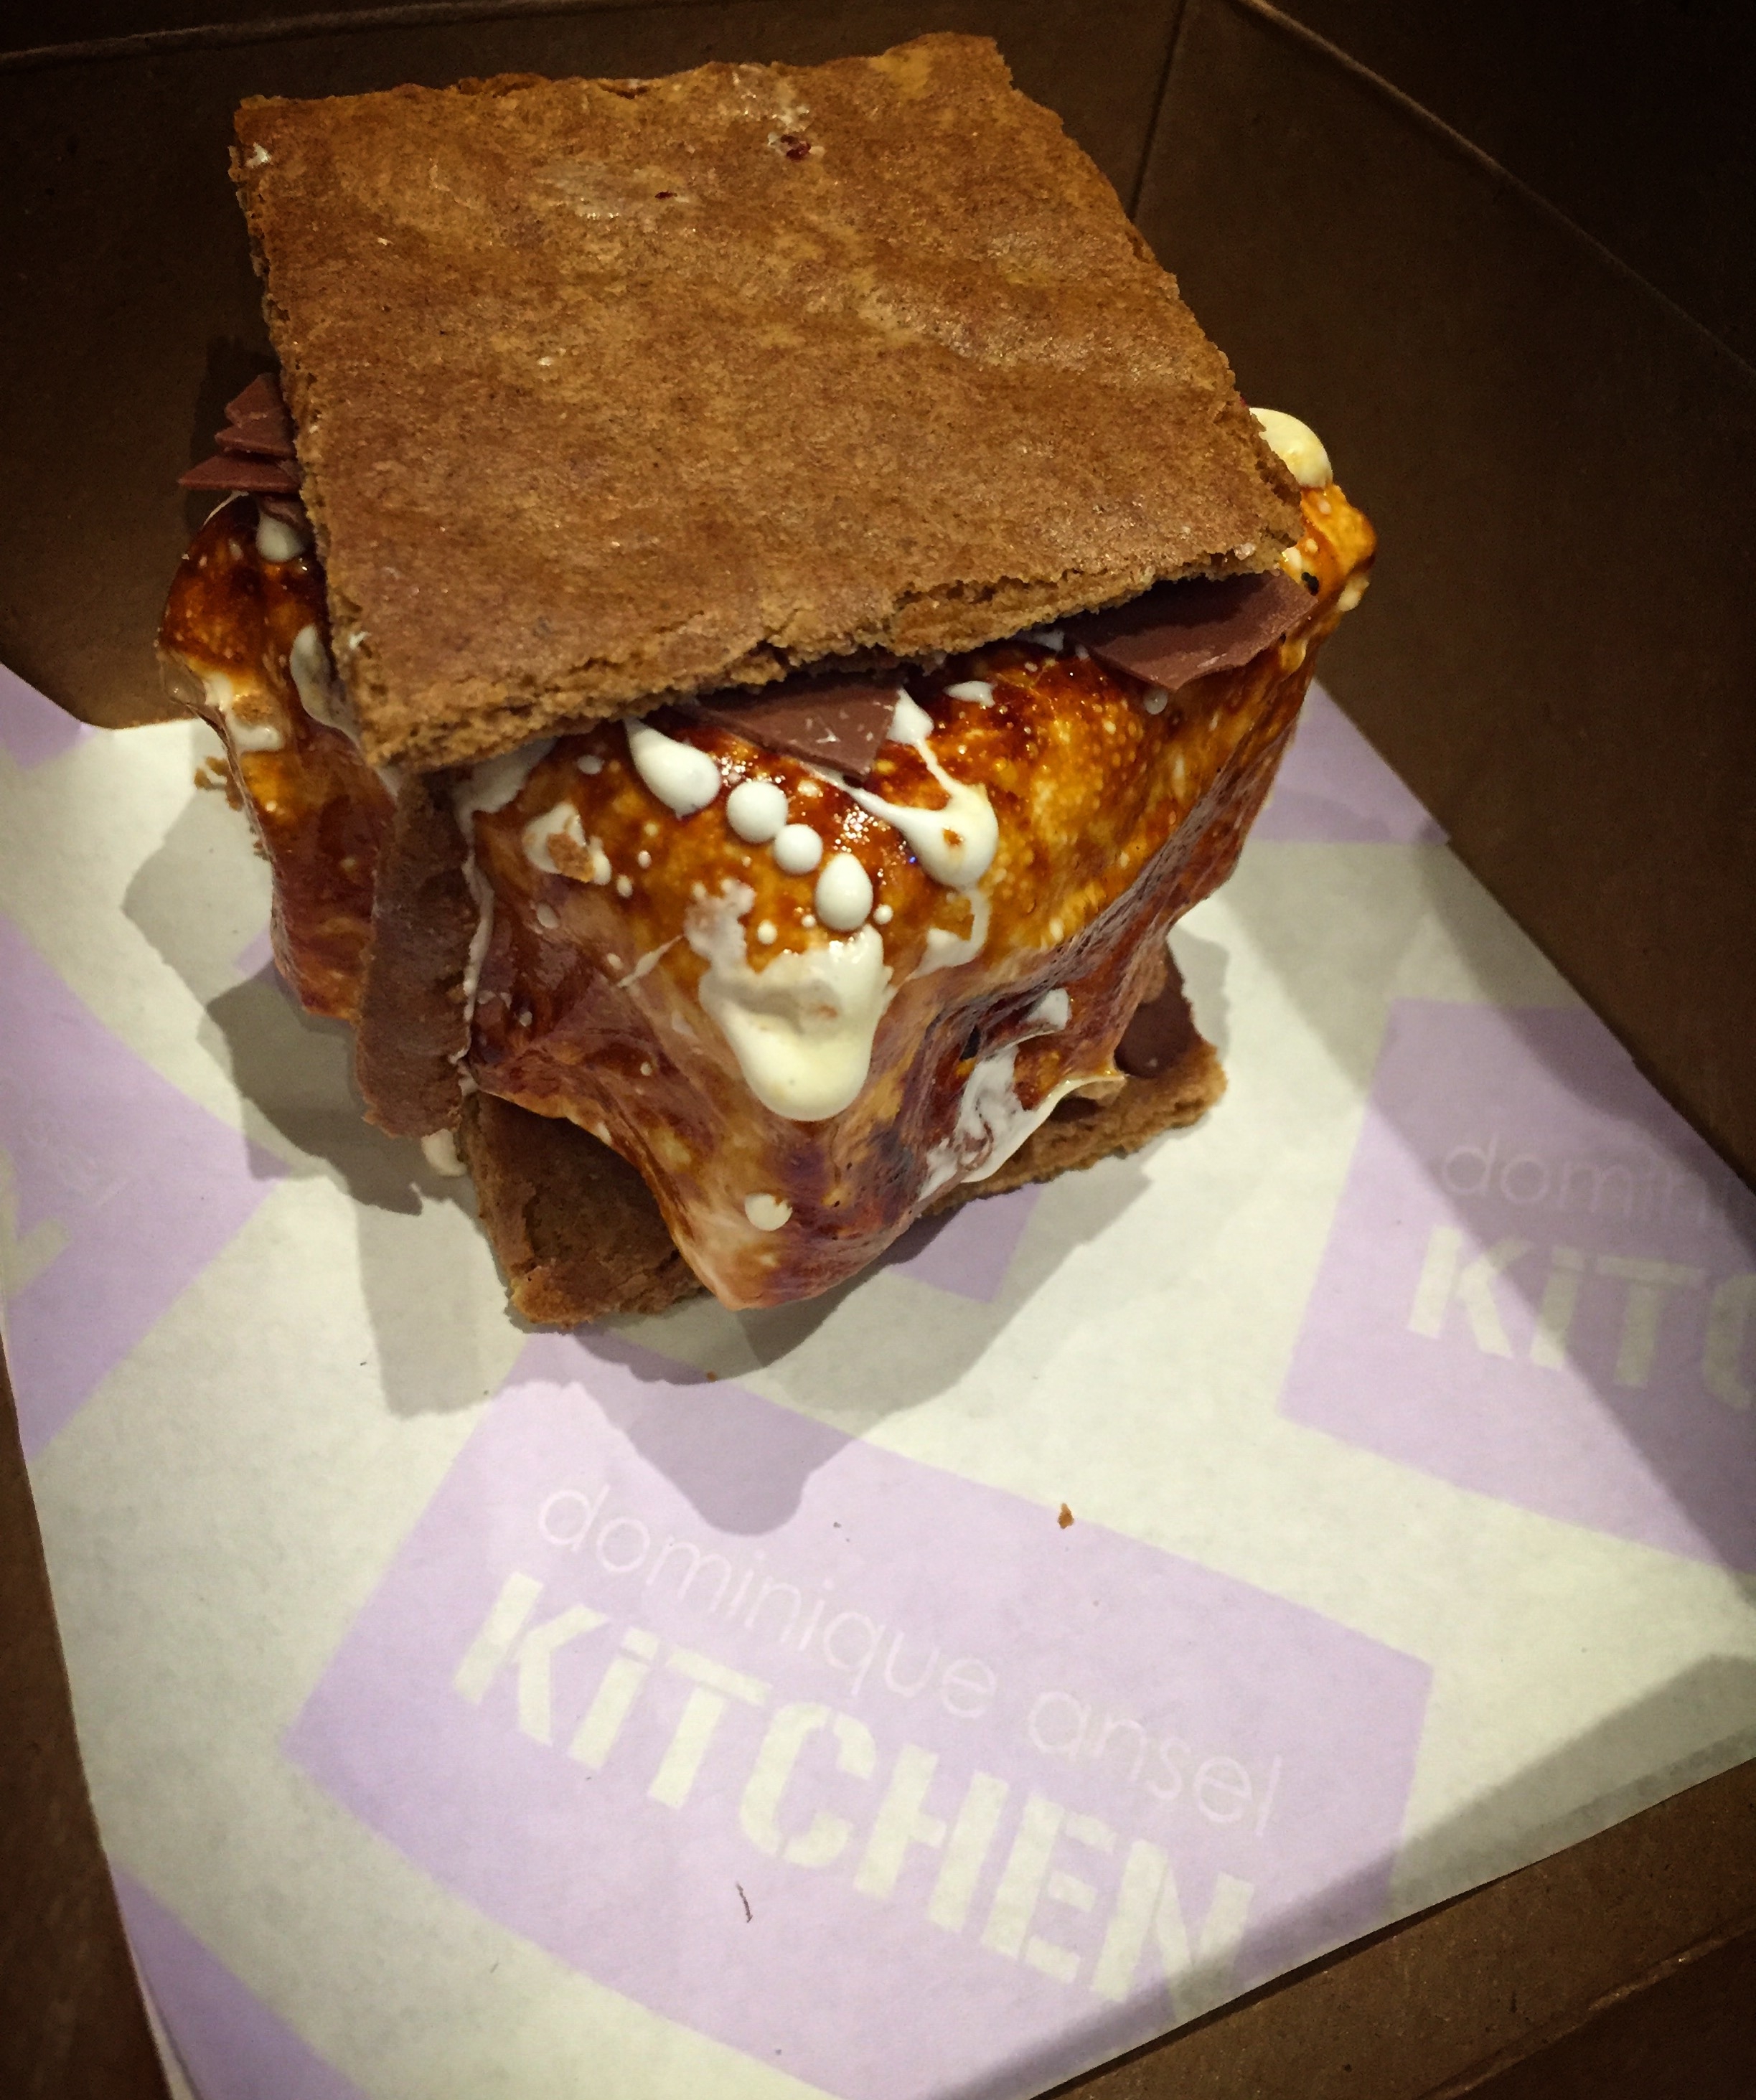
So when I ordered, I went with a restaurant I am already a fan of to deliver. The process of ordering delivery was pretty easy (though, be warned, you can’t add tip until they deliver and you add it on the receipt) though I wish there was more information on each dish like there is in Seamless. I also had no idea how long it would take to arrive until after I checked out (I might have missed this but not sure) and then when it was a bit late, I didn’t know who to contact or how.
We all did enjoy a lovely lunch delivery, however! (Thanks again from me and my coworkers, Munch Ado!)
The usability was nice and I liked the look and feel of the app. I also like the cheekiness of the messaging (though I wish they allowed opt in for text messaging rather than automatically sending).
Overall, I think Munch Ado has definite potential, but a key is that it has to do each function as well, if not better, than the individual sites/apps I currently use to truly replace them. I gave them some feedback on how to get closer to that goal, and they were SUPER receptive. So hopefully this is just the start of something fabulous.
Let me know what you think if you try it out!
Tags: delivery, delivery site, food app, food deals, food delivery site, food platform, munch ado, nyc restaurant deals, reservation app, restaurant app, restaurant deals, restaurant reservation app, restaurant reservation site, restaurant reservations, sponsored